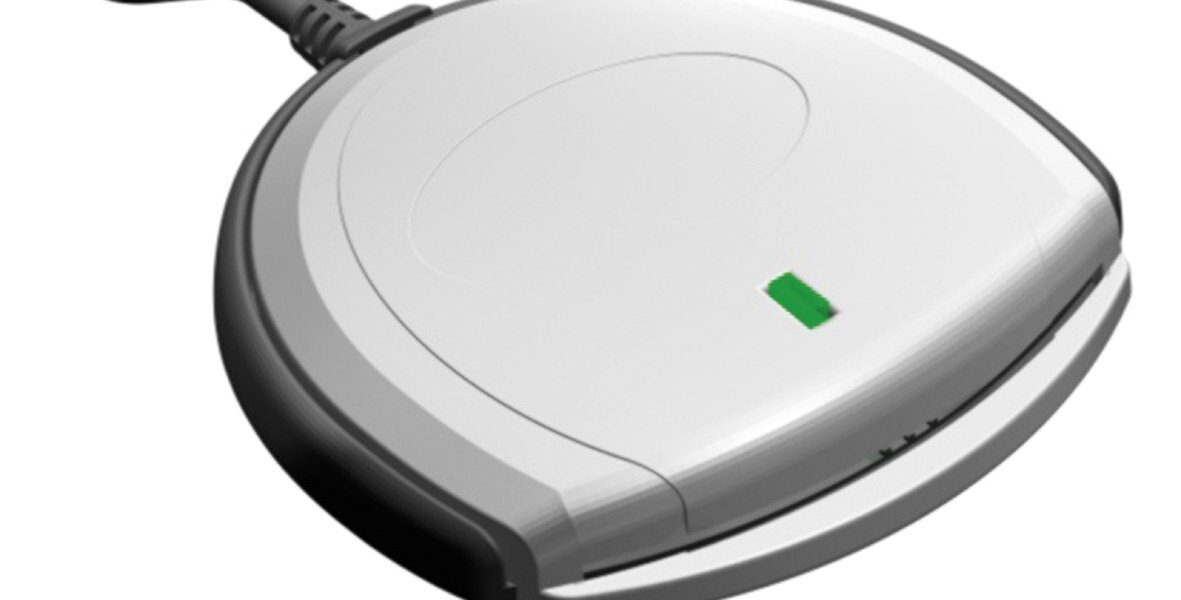
CAC Reader Installation Guide
Installing a Common Access Card (CAC) reader is a straightforward task. If you follow the steps methodically, you’ll be using your CAC reader in no time. This guide covers different operating systems: Windows, macOS, and Linux. It will also introduce some common troubleshooting methods.

Windows Installation
Step 1: Identify the type of CAC reader
First, determine the kind of CAC reader you have. These generally connect via USB. Visit the manufacturer’s website for the latest drivers if you don’t have the installation CD.
Step 2: Download the driver
Once you’ve identified your reader, download the driver from the manufacturer’s site. This software allows your computer to communicate with the CAC reader.
Step 3: Install the driver
Run the downloaded file to install the driver. Follow the on-screen instructions. You’ll typically just need to click Next through several screens and accept the license agreement.
Step 4: Plug in your CAC reader
Insert the CAC reader into a USB port. Windows should recognize the device and complete the installation. If prompted, restart your computer.
Step 5: Test your CAC reader
Insert your CAC into the reader. Open a web browser and visit a site that requires CAC authentication. If the site recognizes your CAC, your installation is successful.
macOS Installation
Step 1: Connect your CAC reader
Plug the CAC reader into a USB port on your Mac. Modern macOS versions often recognize the device immediately. However, you might still need specific drivers.
Step 2: Download necessary drivers
Visit the manufacturer’s website to download macOS-compatible drivers. Sometimes, drivers are not necessary as macOS has built-in support for many readers.
Step 3: Install required software
Install the downloaded drivers. Follow the on-screen instructions. If prompted, reboot your Mac after installation.
Step 4: Configure Keychain Access
Open “Keychain Access”, located in the Applications/Utilities folder. Go to “Preferences” and select the “Certificates” tab. Set “OCSP” and “CRL” to Best Attempt. Close the and restart your Mac.
Step 5: Test your CAC reader
Insert your CAC into the reader and try accessing a CAC-enabled site in Safari. Your Mac should prompt you for your PIN if the reader and CAC are functioning correctly.
Linux Installation
Step 1: Connect CAC reader
Connect your CAC reader to a USB port. Most modern Linux distributions automatically recognize USB devices.
Step 2: Install necessary packages
Open a terminal window. Install required software using your package manager. For Ubuntu and Debian-based systems, use:
sudo apt-get install pcscd pcsc-tools libccid
Step 3: Enable and start pcscd service
Ensure the service is running. In your terminal, execute:
sudo systemctl enable pcscd
sudo systemctl start pcscd
Step 4: Test your CAC reader
Use the pcsc_scan command to check if your reader is recognized:
pcsc_scan
If your reader appears in the output, it’s working.
Step 5: Configure Firefox
Open Firefox and type about:preferences in the address bar. Navigate to the “Certificates” section. Click “Security Devices” and then “Load”. Enter a module name (e.g., “CAC Module”) and the module filename:
/usr/lib/x86_64-linux-gnu/opensc-pkcs11.so
Click “OK”, then restart Firefox. Visit a CAC-enabled site to test functionality.
Common Troubleshooting Tips
- Driver issues: Ensure you have the latest drivers installed. Outdated drivers can cause recognition problems.
- Reader not recognized: Try a different USB port or another computer to rule out hardware failure.
- Browser configuration: Ensure the browser settings are correctly configured for your operating system.
- Software updates: Keep your operating system and browser updated for improved compatibility with CAC readers.
So, that’s how you can install a CAC reader on different operating systems along with some troubleshooting tips.
“`
Recommended CAC Readers
Looking for a reliable CAC reader? Here are our top picks based on extensive testing and user feedback:
Best Overall: SAICOO USB CAC Reader
The SAICOO is the most popular CAC reader on Amazon, with thousands of positive reviews. Works with Windows, Mac, and Linux. Plug-and-play with no drivers needed for most systems.
Best USB-C: IOGEAR GSR205
For MacBooks and modern laptops with USB-C ports, the IOGEAR GSR205 is TAA compliant and works flawlessly with government systems. 3-year warranty included.
Best Portable: 5-in-1 Folding CAC Reader
Perfect for travel and remote work. This compact reader folds to fit on your keychain and supports both USB-A and USB-C connections plus SD card slots.
As an Amazon Associate, we earn from qualifying purchases at no additional cost to you.


Subscribe for Updates
Get the latest articles delivered to your inbox.
We respect your privacy. Unsubscribe anytime.