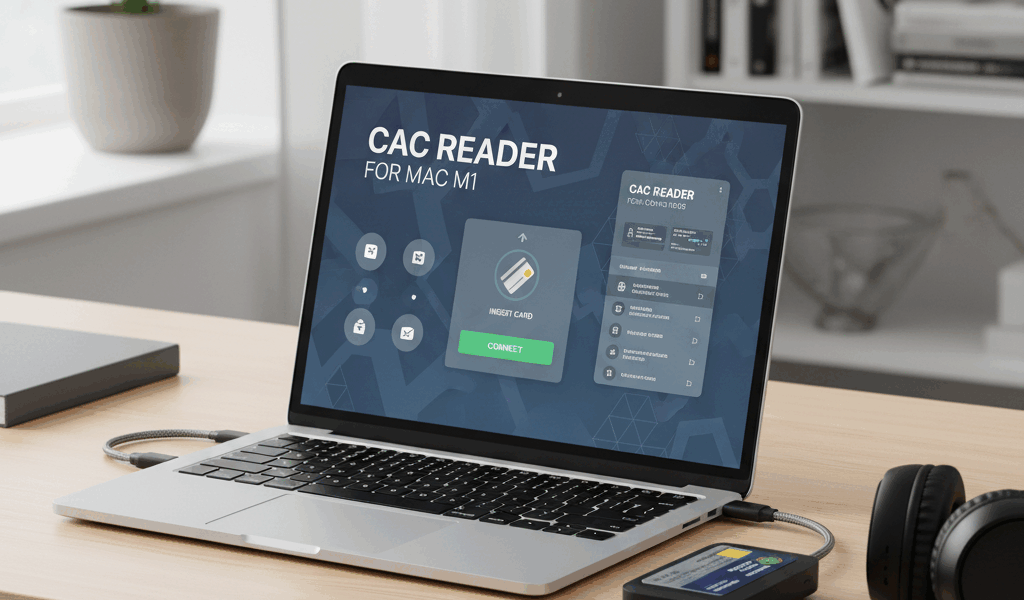
Getting a CAC reader working on a Mac M1 has gotten complicated with all the Apple Silicon transition issues flying around. As someone who’s set up CAC authentication on M1 MacBooks for several officers who insisted on using Macs, I learned everything there is to know about making this work. Today, I will share it all with you.

The M1 Compatibility Situation
When Apple switched from Intel to their own M1 (and later M2, M3) processors, it broke a lot of things in the CAC world. Drivers that worked fine on Intel Macs suddenly didn’t work at all. The good news is that most of these issues have been sorted out by now, but you still need to know what you’re doing.
The biggest change is that Apple Silicon Macs use a different driver architecture. Old kernel extensions (KEXTs) that Intel Macs relied on are deprecated. Apple wants everyone using DriverKit extensions instead. This means some older CAC readers with outdated drivers simply won’t work on M1 Macs without updated software from the manufacturer.
Readers That Work on M1
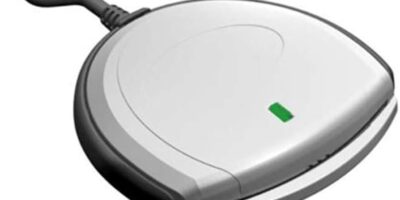
Identiv uTrust 2700 R: Works natively on M1 Macs. Identiv updated their drivers for Apple Silicon and macOS recognizes this reader without any additional software in most cases. This is my go-to recommendation for Mac users.
SCR3310v2.0: Also works on M1, but you might need to install the latest Identiv driver package. The built-in macOS CCID driver handles it, though some users report better reliability with the manufacturer’s driver.
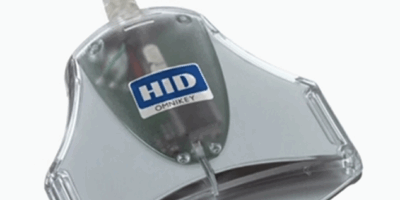
HID OMNIKEY 3121: Compatible with M1 Macs running macOS Monterey or later. HID has released Apple Silicon native drivers.
Setup Steps for M1 Mac
Probably should have led with this section, honestly. Here’s the actual process:
First, make sure you’re running at least macOS Monterey (12.x) or later. Ventura and Sonoma have better out-of-the-box CAC support. Update your OS before trying anything else.
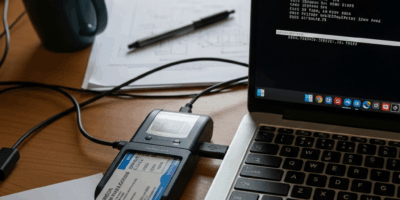
Second, plug in your reader. Open Terminal and run system_profiler SPSmartCardsDataType to verify macOS sees the reader. If it shows up, you’re halfway there.
Third, install the DoD certificates. Download the DoD PKI CA certificates and import them into Keychain Access. The InstallRoot tool from militarycac.com has a Mac version that automates this. Run it and follow the prompts.
Fourth, configure Safari or Chrome for CAC authentication. Safari is generally the easier option on Mac — it uses Keychain natively and picks up the CAC certificates automatically once they’re properly installed.
Common M1 Issues
That’s what makes M1 Mac CAC setup endearing to us troubleshooters — when it works, it’s actually smoother than Windows. But when it doesn’t, the error messages are useless.
The most common issue is the “TokenD” vs “CryptoTokenKit” conflict. Older CAC setups on Mac used TokenD, but M1 Macs use CryptoTokenKit. If you have old TokenD files lingering from a previous installation or a migration, they can interfere. Remove any files in /Library/Security/tokend/ and restart.
Another common problem: the reader works but Safari says “no valid certificates found.” This usually means the DoD root certificates aren’t trusted in Keychain Access. Open Keychain, find the DoD Root CA certificates, double-click each one, expand “Trust,” and set them to “Always Trust.”
USB-C adapter issues are also a thing. M1 Macs only have USB-C ports, and most CAC readers use USB-A. A cheap USB-C to USB-A adapter works fine in most cases, but some really cheap ones don’t provide enough power for the reader. If your reader isn’t being detected, try a different adapter before blaming the reader.

Subscribe for Updates
Get the latest cac readers.com updates delivered to your inbox.
We respect your privacy. Unsubscribe anytime.